Fabric Lined Drawer

Supplies:
Large piece of fabric
Mod Podge - or any other white glue
Ruler
Triangle
Water
Large paintbrush
Clear gloss spray paint

First I cleaned out the mess of scarves, bathing suits and belts that I use the drawer for.
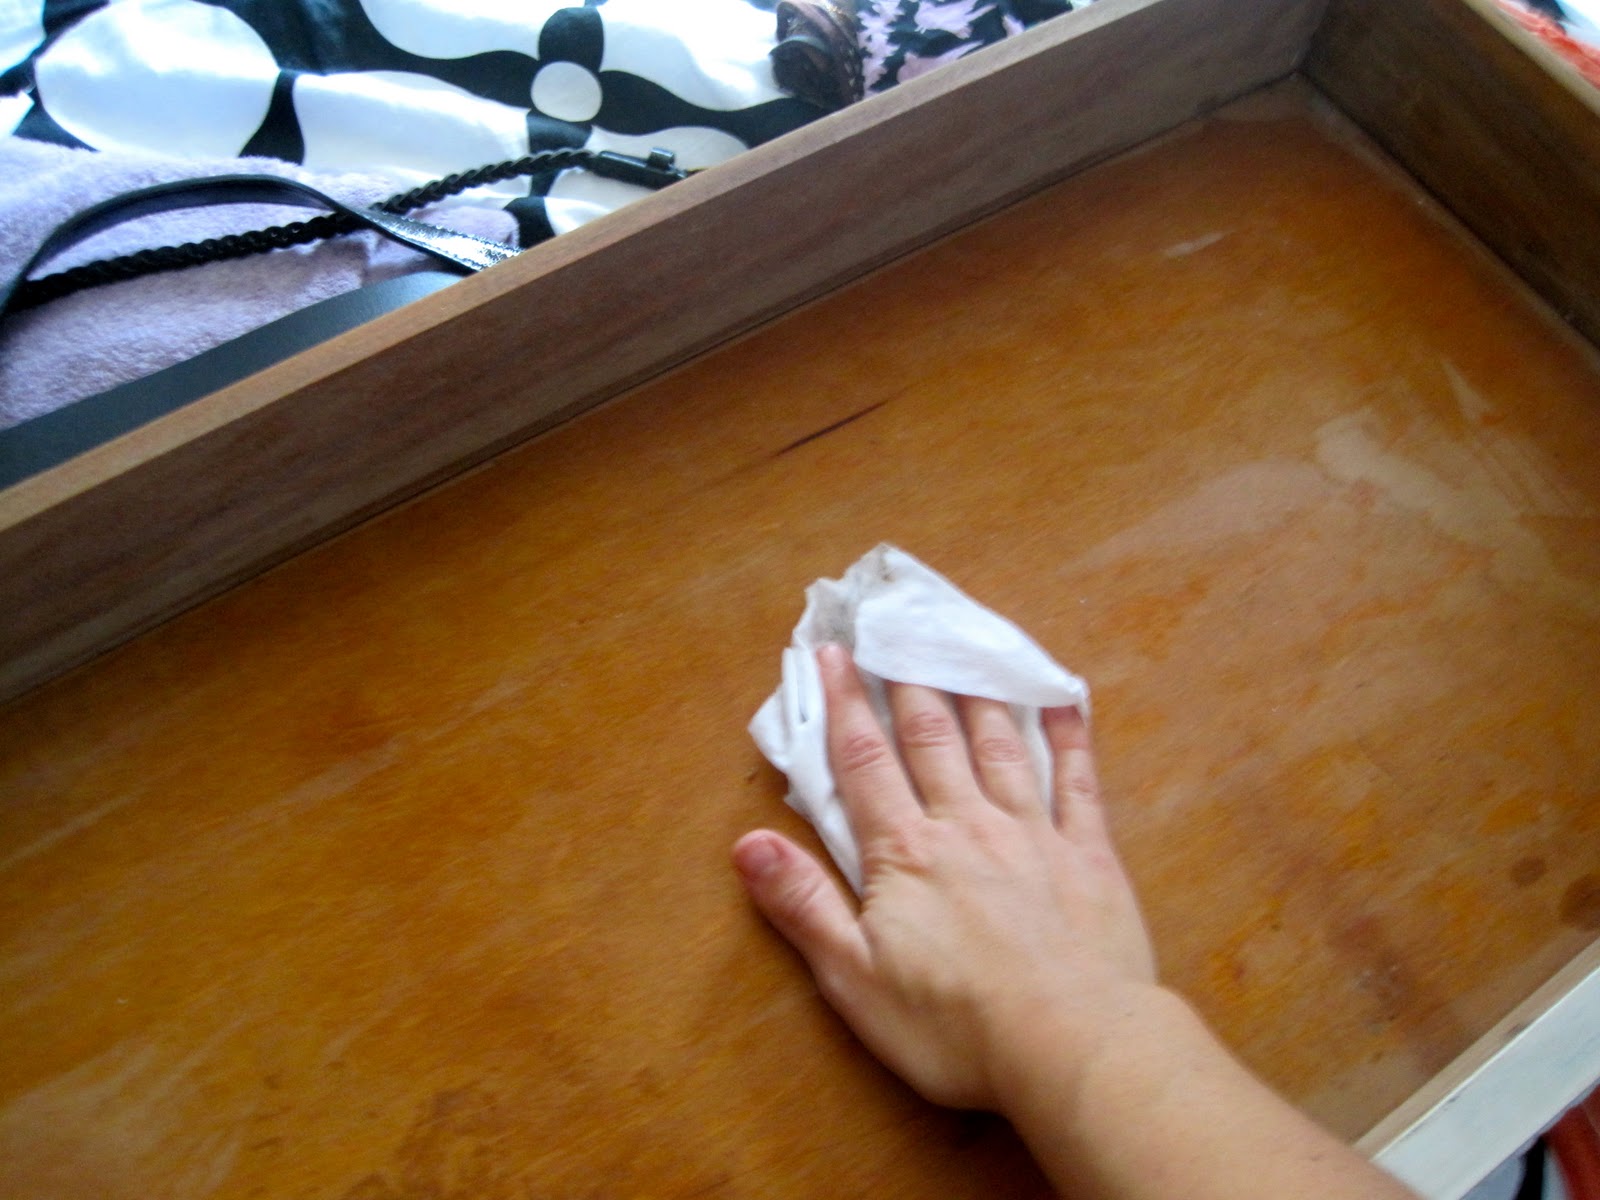
Next I wiped the drawer down to make sure that the fabric has a clean surface to cling to and doesn't bubble up in any spots.

Next I measured the dimensions of the base and the sides.

Then I drew the dimensions out on my fabric so that it comes out as one cohesive piece. And as they say "measure twice, cut once," which of course I forgot and ended up having to cut a second piece. Luckily the tablecloth was big enough to accommodate my mistake. Also, if you want a uniform pattern, center your measurements on the fabric.

Now here is where the fun begins, I watered down Mod Podge (I'm sure any sort of white glue would work in this situation, just as long as it dries clear) and soaked the fabric until it was all saturated.

Amazing that it all fit into that small container!

Next I laid the fabric over my drawer and used my trusty triangle to smooth the fabric into all of the corners. This part took the longest, just to make sure all of the air bubbles were smoothed out and the pattern was relatively even.

I let the fabric bleed over the edge so that it is seen on the sides when the drawer is pulled out, but I double checked to make sure the drawer could accommodate the extra fabric while still sliding in and out. Once the fabric was all down and where I wanted it, I slathered a thicker coat of Mod Podge all over to secure all of the edges. I then let it dry overnight and sprayed a light coat of clear gloss sealer to combat any tackiness left from the glue.

Et voila! Installed and ready for filling.

One thing to consider if you decide to take this project on - the wood shows through a bit under the white fabric, so if you want a bolder look go with a fabric with a colored base to it.
-- Heather
posted by . @ Monday, October 10, 2011
0 Comments
![]()


0 Comments:
Post a Comment
Subscribe to Post Comments [Atom]
<< Home